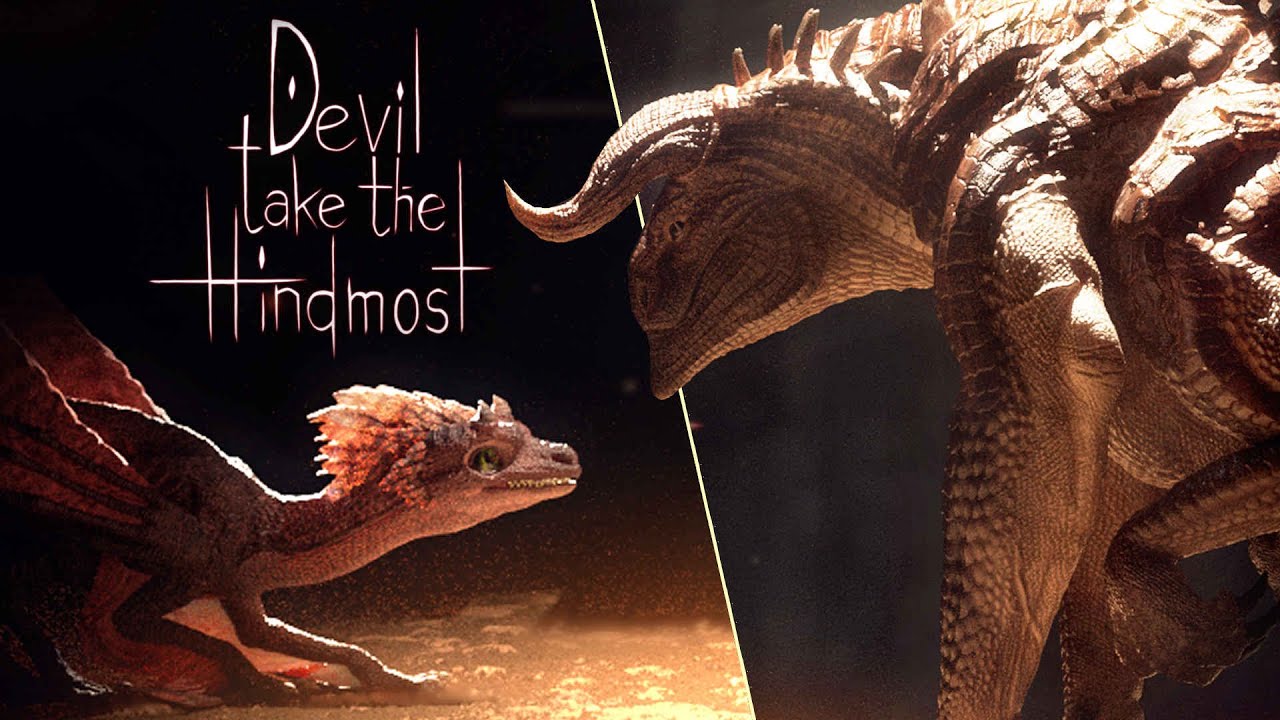
”In this 3D animated short we follow the journey of a little Gecko, living inside an Alzheimer’s patient mind, resembling his earliest childhood memory. As the disease progresses, neurons start falling apart and his memories descend from above. The Gecko intuitively tries to catch them before they fade, but there are simply too many for him to save…”
Introduction
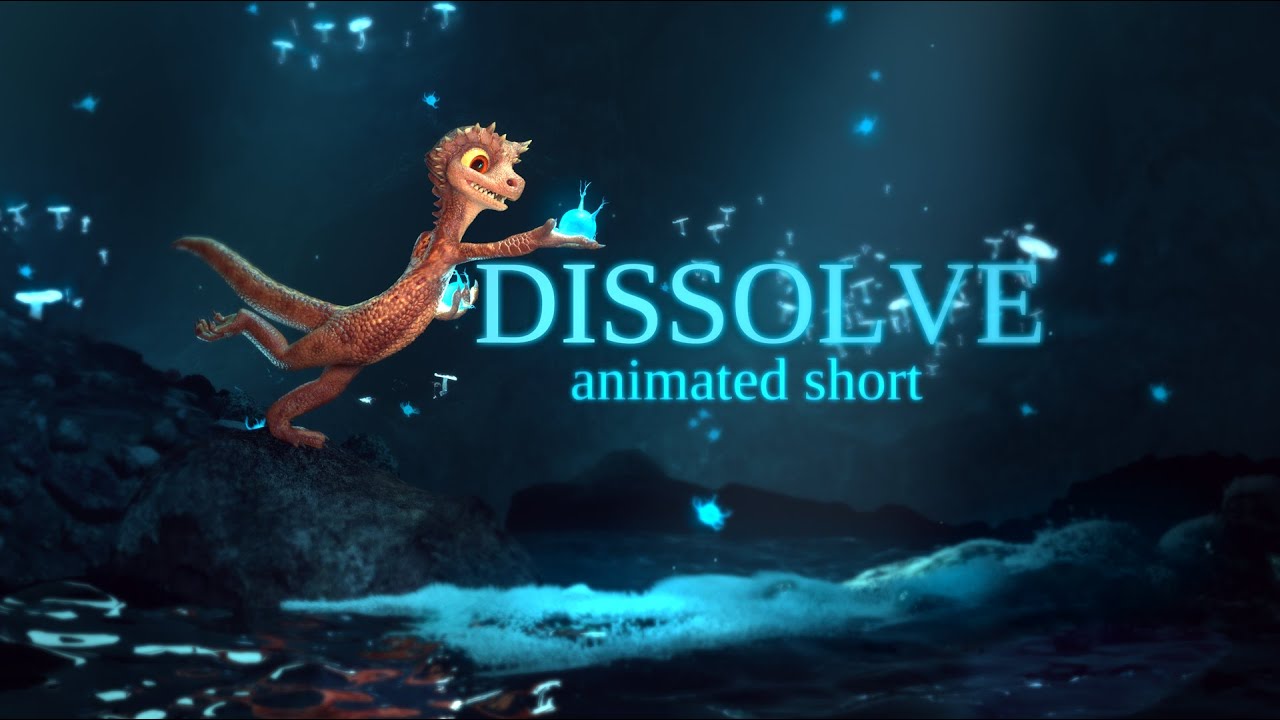
DISSOLVE is our 5th-semester project in the course of Animation & Game @ Hochschule Darmstadt. With this animated short we wanted to make the viewer mindful of life, death as well as the decreasing of memories and raising awareness for Alzheimer’s, told by detailed and stunning visuals. Since memories are one of the biggest parts of a human’s character they are one of their most important “resources”.
Synopsis
Alzheimer’s is a fatal degenerative brain disease that results in progressive memory loss. Only often deep memories last until the very end.
In this story, we have an old man whose earliest childhood memory is this small Gecko that is imagined as a protector of his memories. In the late stage of Alzheimer’s, this creature tries to catch the neurons to prevent them from hitting the ground and therefore losing their light and being swept from the edge of the waterfall. When he tries to catch the light that represents the memories of himself he accidentally sacrifices the other lights he held. Now he needs to decide: Keep the man alive despite only being a shell of himself with those few neurons left or let that last light he holds free to go on the other side.
Team
| Carina Heller | Lead Animation | Character Art | Concept Art | Lighting |
| Jasmin Sauer | Project Management | Environment Art | Lighting |
| Emely Michel | Animation | Rigging | Generalist | Lighting |
| Marius Schmücker | FX Artist/TD | Tech Art | Lighting | Compositing |
| Naama Rachel Newport | Voice Acting |
| Martin Haas | Voice Acting |
| Maike Münzenmay | Voice Acting |
| Dennis Tjiok | Composer |
| Darren SNG | Flute |
| Christoph Manderscheid | Sound Design |
| Jannis Quintino | Sound Design |
Production | My contribution
Technical Directing & Pipeline
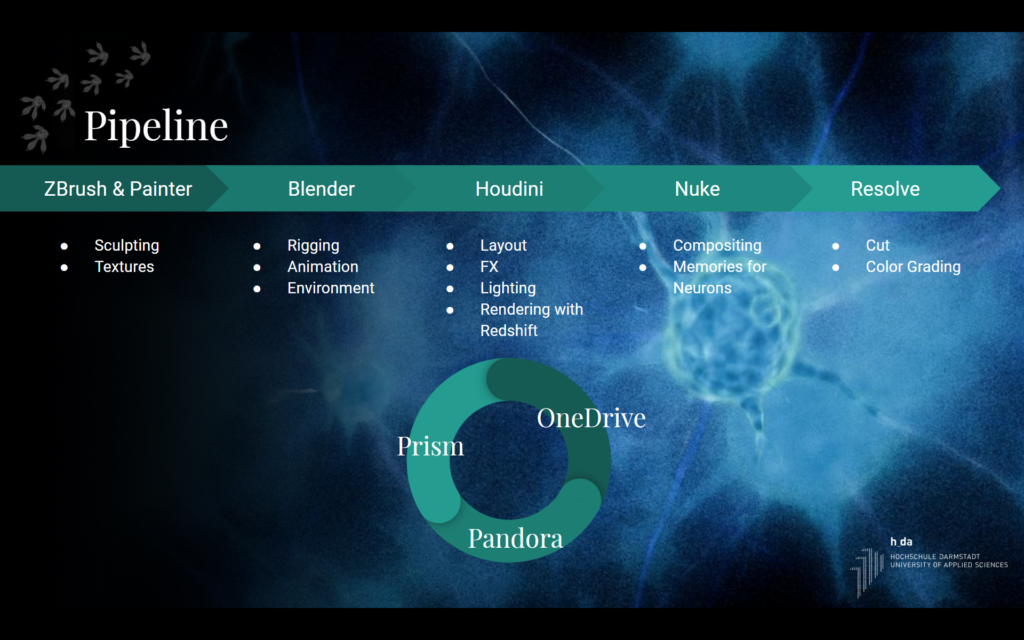
My primary and most important team role from the very first moment on has been the technical realization of the project. While my other team members were more focused on the story and concepts I was responsible for getting their ideas executed within the deadline. This started with choosing the right tools and establish a solid pipeline around them. The pipeline had to work for all team members to contribute to the project at all times from all locations. Furthermore, this pipeline had to be modular so that all team members receive updates and the newest version of all assets. For this project, I decided to go with OneDrive to globally store our data. Our main DCCs were Blender for rigging and animation since we wanted to use a reliable tool (-> no Maya) that could be learned in a short period of time and Houdini for FX, procedural environment and lighting/rendering. I decided to go with Houdini because it is an awesome tool to assemble and managing assets from different sources and creating procedural systems out of it. Additionally, you can build your own tools that can be used by artists who have never worked with Houdini before (more on that later) as well as creating FX of course and it supports Redshift which we desperately needed to be able to render the movie in time.
Since most of my teammates were relatively new to Blender and Houdini I was responsible for helping them out if things got stuck. Errors had to be fixed and the workflow had to be tested from exchanging assets to procedurally working on them and finally rendering them on the farm.
The whole pipeline was connected with Richard’s awesome free pipeline tools Prism for exchanging and managing data such as alembic exports from Blender to Houdini, the generation of Playblasts, File Caching and versioning. Everything was saved globally on OneDrive. Since we needed the same paths to assets on every pc I had to install a tool called vSubst that could map folders to virtual drives. So, in the end, every computer had a virtual drive Z: where the pipeline files were saved to (->OneDrive).
Once the animation was imported into Houdini I build procedural tools that took parts of the animation and processed them further. E.g. creating Neuron Simulation from the animated spheres from Blender, extracting meshes and applying shaders and adding a lighting setup that is split for environment and character. More on that later.
For rendering in Redshift we used their Proxy workflow. Since we had lots of assets that had to be loaded onto the GPU it took a really long time. So we converted all major assets to Redshift Proxies thus reducing the translation time between sending files to the GPU and the actual rendering. This was a major time saver!
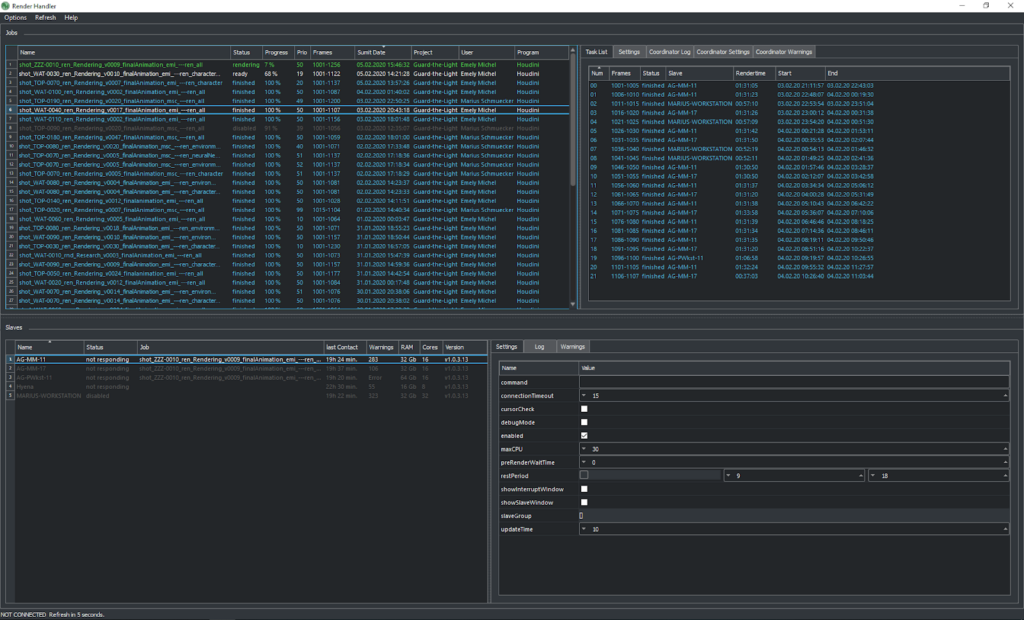
Since we heavily relied on a university render farm which sadly we have not been able to use up to this date, I had to build our own one within a couple of days. Fortunately, Richard has built an awesome free render management software called Pandora that could even work with OneDrive. So I installed it, configured it and got it working within one day. Without it, we would not have been able to finish our animation (lots of shots took more than 10 Minutes/Frame).
FX, Atmosphere & LookDev
Furthermore, I was responsible for creating the atmosphere of the environment. This included a river simulation to bring life to the otherwise static environment, creating neurons and a collapsing neural network to drive the story and finally creating a moody lighting setup for the cave using volumetric lights, lights and shadow and last but not least bringing everything to Nuke to insert the memories into the neurons, enhancing/fixing shots and color grading them in Nuke/DaVinci Resolve.
Look Development & Lighting

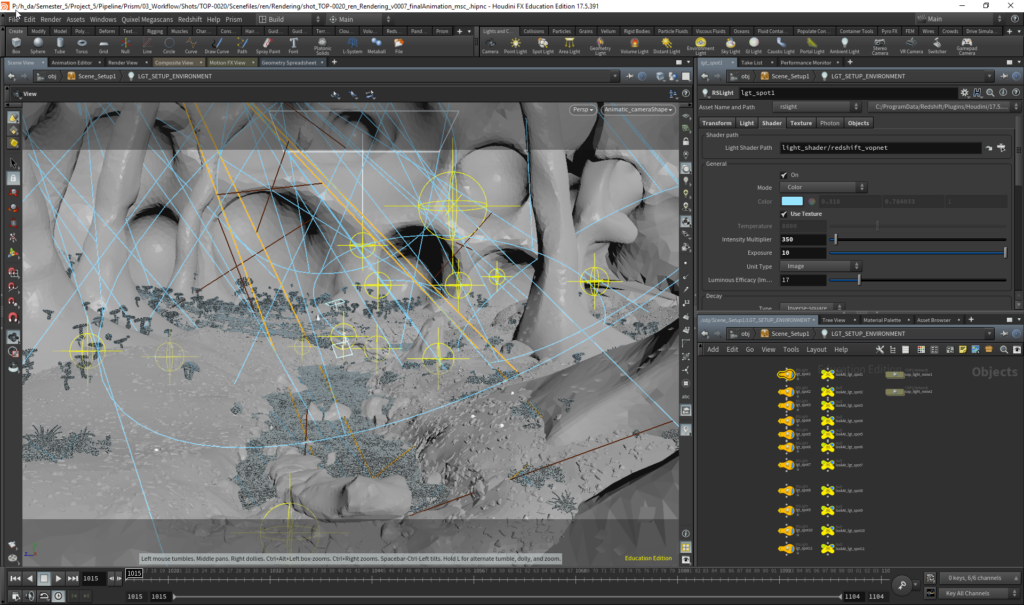
As stated earlier we wanted a moody and photoreal environment for our animation. So the atmosphere was key. The main difficulty was that the only real light is coming from the neurons and some light leaks above making it hard to light the scenes. I was responsible for the main lighting setup and used lots of different volumetric spotlights to create god rays and establish an interesting mix of lights and shadows. The spotlights are using noise textures so that they are not perfectly shining and have more variation. To create color contrast for the gecko I had to fake the lighting so that the blue environment light does not affect the gecko because he would just be green and so I introduced special character lights that use a more neutral color and just affect the gecko so that he could retain his orange color thus creating color contrast and increasing readability. This was also further improved in the color grading process.
After I finished the base light setup I bundled that into a Houdini Digital Asset and created a single Node out of it so that the other team members could just take and place it into the scene to have something to start with and retain consistency over the different shots.
FX
River
One of my heaviest simulation tasks was the creation of a river that crosses the cave. For that, I used Houdini’s FLIP simulation tools. First I extracted the needed part from the environment and creating a collision object out of it. Then I set up the flip simulation using a container with open boundaries so that I could get a continuous stream of particles for the river. Houdini uses these boundaries to sample velocities at them and creating realistic movement without additional computation. Since the simulation needs quite some frames to settle down I started with a proxy simulation with lower resolution and used that one as the initial start of the highres simulation. This is the most computational heavy step of the sim. I even had to add additional RAM to the uni workstation because 32GB was not enough. With all the iterations we ended up with more than 1 TB of simulation data.
After this step, I had the simulated particles which then needed to be meshed and turned into an actual surface that could be rendered.
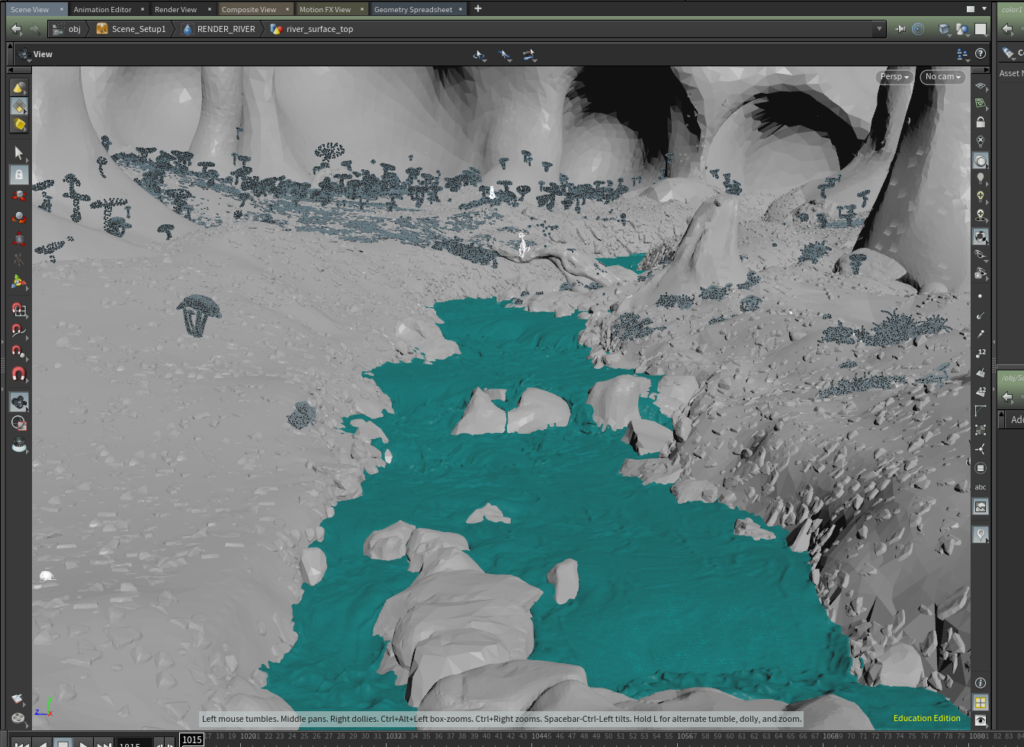
On top of this surface, I simulated additional whitewater using the acceleration and vorticity information of the particle sim to increase the realism and add nice details.
The waterfall is a simple particle simulation with lots of motion blur (since we ran out of time).
All these elements were converted to Redshift Proxies and bundled within an HDA so that they could be placed by using one node.
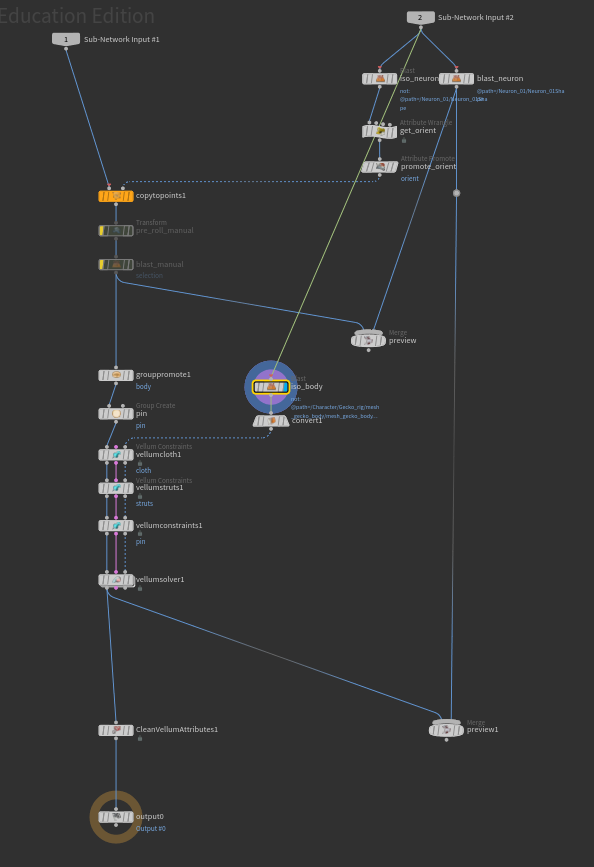
Neuron
I built a tool that extracts the character animation and the animated sphere representing the neuron, turns the character into a collision object and replaces the sphere with a procedurally generated neuron. This data is then put into a vellum cloth simulation and outputting the final animated neuron in the place where the sphere has been. The simulation itself uses constraints to bind the neuron to the position of the sphere and it creates springs inside of the neuron so it can keep its shape.
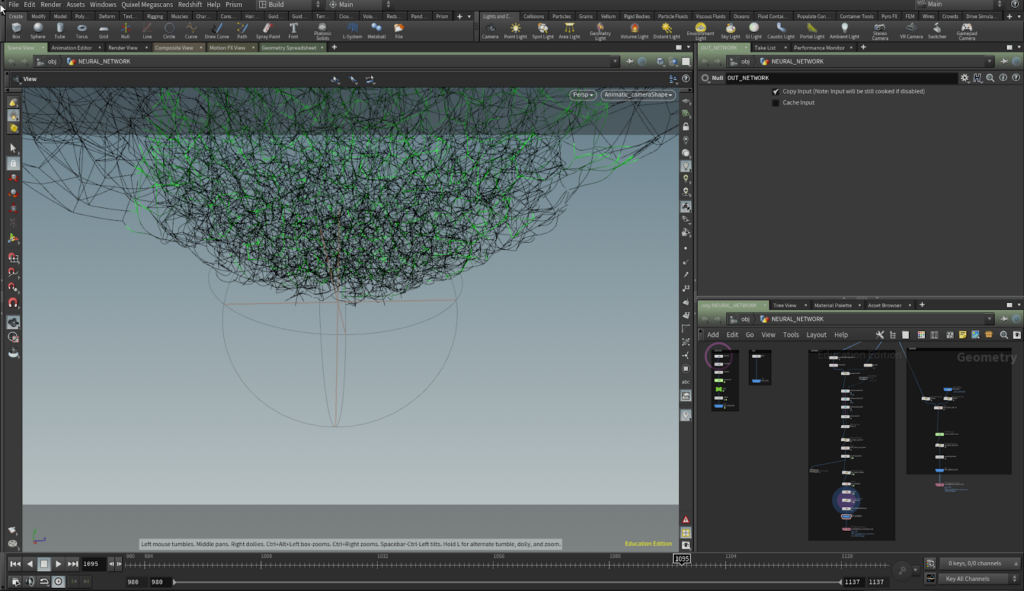
Neural Network
The neural network consists of two parts: the neurons itself and the connections between them. For the setup, I used a simple deformed sphere and scattered points into it. With the use of the “connect pieces” I created the connections between these points. Then I added a sphere that could “infect” the neural network and force the connections to break and the particles to fall down. The neurons are based on a simple particle simulation activated by the infection and are replaced with instanced animated neuron proxies at render time. The connections are a vellum cloth simulation whose connections break if they get infected. For efficient rendering, they are rendered as strands (hair). Additionally, I created a custom solver that outputs the infection of the neural network into AOVs that I could then use to drive the infection effect in Nuke.
Houdini Digital Assets
Neuron
For creating the single neurons I created a procedural tool to make it easy to generate a variety of different neurons. In it, you can control the number of arms, extra elements, look, shape, size, the complexity of the neuron.
The tool internally uses L-Systems to generate branches and VDBs for merging everything together. Additionally, it outputs groups that are needed for the simulation later.
Falling Neurons
Lots of shots needed falling neurons in the background. For that, I built a simple tool that could be used by the other team members who have never worked with Houdini before. All they had to do was place a simple cube in which they wanted to spawn neurons and adjust the simulation’s physical parameters such as wind and gravity. These spheres are then replaced at render time with animated neurons.
Swimming Neurons
I used a similar approach for the swimming neurons at the end of the film. Again I build a simple tool that takes the water surface as one input and the water surface with the painted area in which neurons should be placed in the second input. The “minpos” function is your friend here 😉
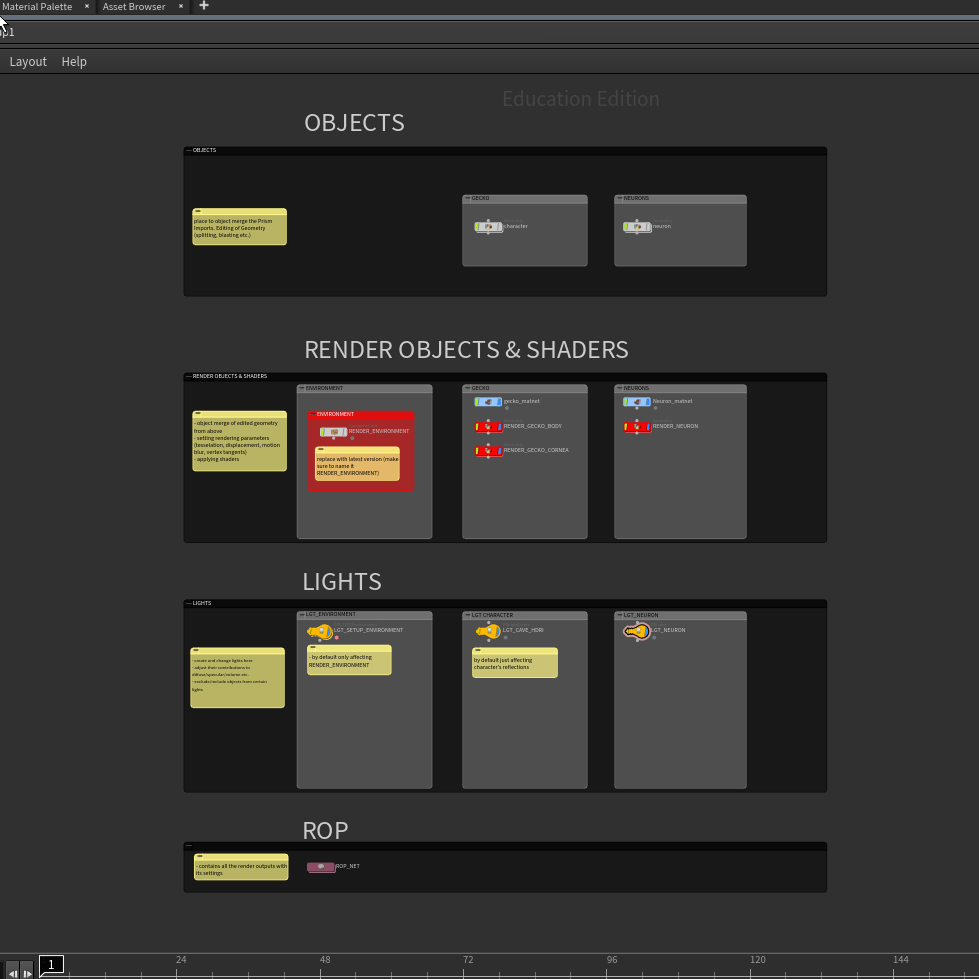
Scene Setup
To reduce human errors and workload, I created an Asset that sets up the complete scene as a starting point. This includes: importing the character, assigning shaders, adding split lighting (for environment and character and an HDRI I created that is only visible in the reflections of the eyes) as well as multiple ROPs (Render Nodes) for environment, character, neurons, etc. with render settings. So the complete setup can be placed with one Node, making it easy for people with little knowledge of Houdini to use it!
Compositing
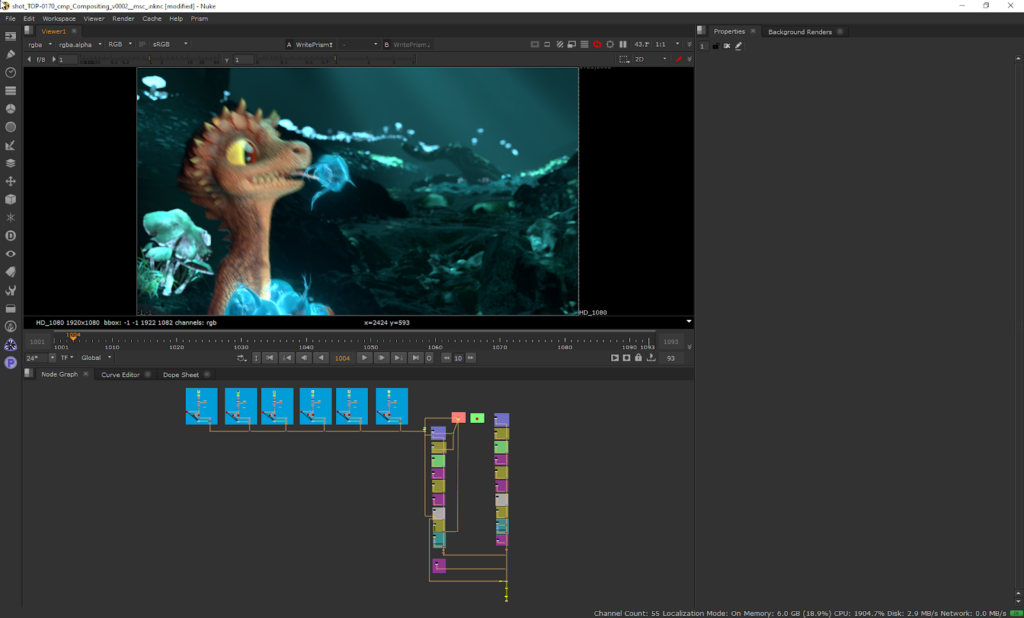
For compositing I used Nuke. My setup consists of 3 main areas. First is all AOVs of the character are combined and can be adjusted (such as the reflection, emission, etc.) the second one is similar just for the background and the third one is a 3D Setup for the memories inside of the Neurons. For that, I use the animated camera as well as the position of the neurons from Houdini. Then I use the silhouette drawings by Emely and Carina and add some effects to them such as displacement driven by noise so they get some watery motion, some edge blur, etc. For the mask, I use cryptomatte AOVs. Effects such as Depth of Field are all done inside of Nuke to have more control and saving render time.
Special Thanks!
To Quixel who supported us with free assets!
And Richard Frangenberg for his awesome pipeline tools Prism & Pandora. Go and check them out, they are amazing – and free! ♥